


 |
|Viewed from the front, the Accustic Arts Power III remains discreet even when switched on, more discreet than I had expected. Only the number of the selected input and the volume level are shown in the display featuring variable brightness and blue alphanumeric lettering. For digital sources, no indication of format or resolution appears. This is unusual but also advantageous. So really nothing distracts from listening to music. In the course of the test, I'll pay attention to whether I miss the indication of formats at some point, or not. Setting up the integrated amplifier is uncomplicated and alternatively possible via the remote control or on the device itself. The nicely designed remote control - the origins of Accustic Arts lie in the metal manufacturing - has to be set up via the button labeled Select so that the amplifier responds to commands. Blue LEDs indicate three options. On my Power III, the third LED was the correct one to get the amp responding. The remote is capable of controlling other Accustic Arts components, too - potentially the gorgeous CD drive named Drive IV. Then the remote control must be switched over to it briefly. A DC control output on the back of the integrated amplifier allows for a remote switching of i.e. a power amplifier or subwoofer. The menu can be set up step by step. There is always a time window of ten seconds before the display changes back to normal mode. On the amp itself, the left chrome-plated knob made of solid brass, whose actual function is the selection of the input, is pressed only briefly. If you press it for a longer time, the device is put into stand-by mode. After a short press, the last menu option selected always reappears. The settings are retained even if the Power III is disconnected from the mains through the physical power switch on the back. This is practical, as usually, after having performed the basic setup as a headphone user, you will merely need that one menu option that turns off the speakers. If you pressed this last, it’s immediately available again after opening the menu. If you never listen through headphones, the front jack output can also be disabled completely. This 6.3 millimeter output is covered by a protective cap made of chromed brass. In detail, the menu options are as follows: Balance, Volume when switching-on the amplifier from stand-by mode, Brightness of the display, Preamplifier output with optionally fixed or variable volume, Volume bypass when integrating the Power III into a cinema surround system, Separate volume level settings for each input with a control range of plus/minus twelve decibels to avoid volume jumps when switching the inputs, Headphones on/off, Speakers on/off and Factory reset to recall the default settings. This reset function, as well as the surround switching option are coupled to a countdown to be able to undo accidental activations. The integration into a surround system is a welcomed feature for cinema fans. This way, you can configure Input Five so that the Power III’s volume control is inactive, as the volume level is then adjusted by the surround processor. The right knob on the front panel is labeled with its main function Volume and is used to change values throughout the menu, for example the brightness intensity of the display.

So, finally we allow ourselves a look inside: Here you can see the use of high-quality components, nothing very exotic, but still elaborately selected. This is an essential technical feature of this integrated amplifier, which also contributes to its price. The high degree of selection of all components in play guarantees channel-equivalent values, which is particularly significant for the balanced signal routing as well. The amp features balanced and unbalanced inputs, and both types are also routed as such. In the complex volume control with highly selected resistors, the asymmetrating of the balanced inputs takes place. Only in this way it is possible to eliminate the interfering signals by bringing the inversely phased portions to congruence and thereby eliminating interferences. At the same time, the target signal increases by six decibels. Right after the volume control section, the signal is routed directly to the parallel-symmetric output stages in double-mono design with a total of twelve selected bipolar transistors of first-class quality, as can be read in the manual. The lavishly dimensioned heat sinks are placed close to the solid aluminum housing. Combined, they ensure that the amplifier heats up only moderately. The power amp sections draw their current from the lushly dimensioned, shielded toroidal 600VA transformer, equipped with high-quality core material, while several secondary windings provide current to the individual sections of the integrated amplifier and D/A converter separately. In the power supply, a whopping 80,000 microfarads of reservoir capacity serve to smooth the current. As the analogue volume control is microprocessor controlled, you won't see any movement of the volume knob on the unit when you operate the remote control. At this point I would like to express a small criticism, but after a short time of getting used to the Power III’s remote control it shouldn't matter anymore: The horizontally aligned labeling of the Volume function on the remote control tempts you to use the buttons left and right of it. However, these buttons are used to switch the inputs up or down. For the volume, the buttons below and above have to be operated though. I am criticizing something almost banal here, because otherwise there’s nothing to be deprecated about this amplifier - except perhaps its price, which will however be justified by the musical quality along the way.

But let’s take a closer look at the volume control: The microprocessor control activates MOSFET relays, which regulate the volume in 99 steps. At this point, the selection effort is again particularly significant in order to obtain equivalent values for both channels at low levels. The optional phono stage operates with a combination of passive and active equalization. The high-frequency spectrum of the RIAA curve is passively treated, while the midrange and bass sections are actively modulated. The result is very low noise. The gain for MC cartridges is 60 decibels, while for the MM counterparts it’s the usual 40 decibels. An additional stage in the phono board circuitry amplifies the MC and also the MM signals to reach the level of today's common line output voltages and to keep level differences on a small scale. Here again the selection of components is enormously important, as well as the circuit board layout itself, which is accompanied by audible improvements as well, as I learned from the developer. Of course, special attention is paid to the PCB layout not only in the phono stage, but in all sections of the Power III, precisely because musicality can really go on a loss here. Precision, selection and clever arrangement are also at the top of the list in the digital-to-analogue converter section. An ESS9026 was chosen as the D/A converter module, which differs from the previous always popular flagship 9038, by having only two outputs. According to the developer, the important aspect here is rather the optimal use of the chip's internal architecture, which always upconverts to 384 kilohertz and 32 bits. The internal conversion from DSD to PCM that is necessary when using digital level control has been switched off here, so the Power III converter handles DSD natively until it is converted to analogue. Analogue filters behind the chip's output remove remaining unwanted RF signal portions.


-
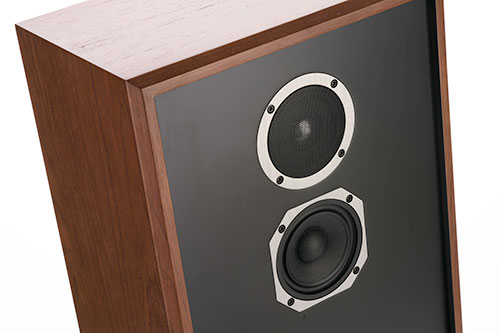
KLH Audio Model Four
Endlich steht mal etwas ganz anderes in meinem Hörraum. Der Lautsprecher des traditionsreichen amerikanischen Herstellers KLH entspricht einem Design von vor mehr als 50 Jahren, wie man es auch heutzutage bei Edelmarken wie Harbeth oder Audio Note findet. Bislang hatte ich nicht das Vergnügen, einen solchen Lautsprecher im Hörraum zu erleben. Neben dem Design mit breiter Schallwand und geringer Bautiefe macht der Paarpreis von knapp 2000 Euro die KLH Model Four hochgradig interessant. Auf zum…19.10.2026 -
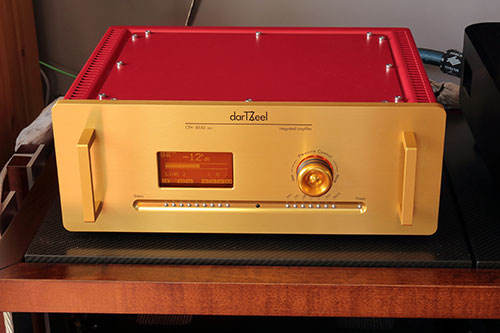

darTZeel Audio CTH-8550 Mk II
darTZeel ist ein Schweizer Unternehmen, das 2001 in Genf von Hervé Delétraz gegründet wurde. Der Name ist ein Anagramm des Nachnamens Delétraz. Die Arbeit an den ersten Geräten begann bereits 1984 im Rahmen einer Diplomarbeit, und nach 18 Jahren Forschung wurde 2002 der Leistungsverstärker NHB-108 offiziell vorgestellt. Es gibt Marken, auf die man viele Jahre warten muss, aber man wartet trotzdem weiter. So war es für mich bei der Marke darTZeel. Zufällig traf ich ihren…13.10.2026 -
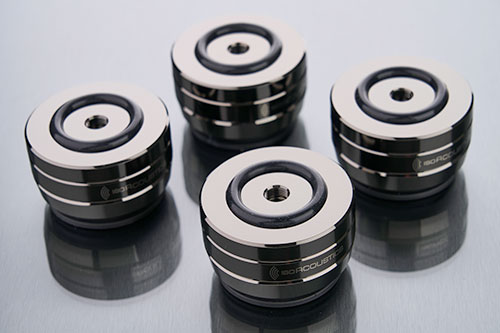
IsoAcoustics GAIA Neo I
Erinnern Sie sich noch? Es ist bereits eine ganze Weile her, da haben Hifi-Fans ihre Lautsprecher auf Tennisbälle gestellt, um einen besseren Klang aus ihnen herauszukitzeln. Oder sie haben abenteuerliche Selfmade-Konstruktionen gebastelt, auf denen die vielleicht nicht ganz highendigen Schallwandler platziert wurden. Das ist lange her und in der Zwischenzeit hat sich in Sachen Lautsprecher-Füße einiges getan. Es gibt eine große Zahl an Herstellern, die Basen, Spikes oder Ständer mit unterschiedlichen Konzepten und Materialien produzieren,…09.10.2026 


-
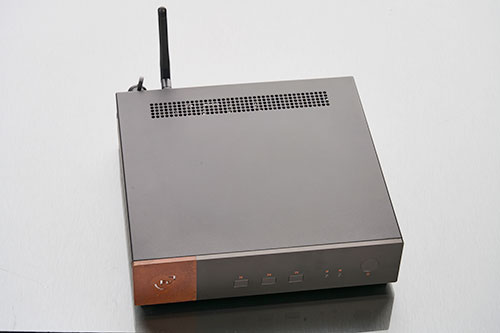
Ferrum BROEN
Auf der High End 2025 ließ man bei Ferrum durchblicken, dass an einem Streamer gearbeitet wird. Die Ferrum Streaming Control Technology, mit der die Musikwiedergabe mittels der Fernbedienung Ferrums DAC WANDLA steuerbar ist, war bereits eine Vorbereitung auf den Streamer und das Schaffen eines gesamten Ferrum-Ökosystems. Im Oktober 2025, wenige Monate nach der High End letzten Jahres waren auf der Audio Video Show in Warschau dann bereits erste BROEN Vorserienmodelle in Betrieb. Auf der diesjährige…06.10.2026 -
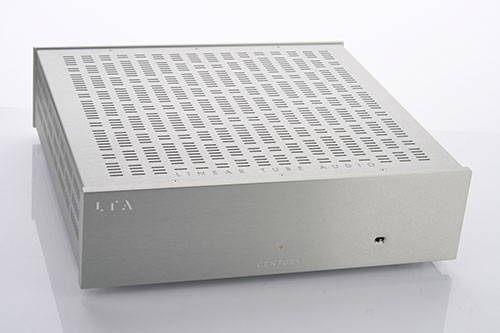
Linear Tube Audio Century
Century heißen die Röhren-Mono-Endverstärker von Linear Tube Audio, die ohne Ausgangsübertrager auskommen und sich dennoch grundlegend von anderen OTL-Konzepten unterscheiden. Wir haben uns intensiv damit beschäftigt, was die patentierte ZOTL-Technologie des Entwicklers so besonders macht und wie sie sich klanglich auswirkt. Für diesen Test haben Dirk Sommer und ich uns eine Arbeitsteilung vorgenommen, bei der ich (Carsten Bussler) mich auf die Technik der Century-Monos sowie die Hintergründe zu Linear Tube Audio und die Zusammenarbeit mit…29.09.2026 -
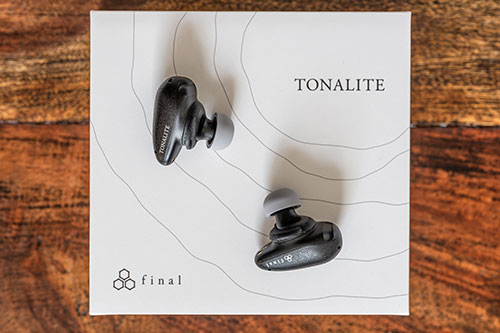
Final Tonalite
Finals Tonalite ist nicht nur ein neuer In-Ear, sondern macht gleichzeitig Finals Timbreanpassung jedem Nutzer mittels einer App zugänglich. Seit der noch etwas kryptischen Ankündigung dieser Technologie auf der High End 2022 habe ich Ihnen über den Entwicklungsprozess berichtet. Das fertige Produkt halte ich persönlich für einen Meilenstein. Tonalite ist eine grundlegende Neuentwicklung mit neuem Formfaktor und neuer Technik. Die Tonalite In-Ears verfügen über eine eher ovale Form, in der die gesamte Elektronik untergebracht ist.…25.09.2026
© 2026 | HIFISTATEMENT | netmagazine | Alle Rechte vorbehalten | Impressum | Datenschutz


Einige Hifistatement-Autoren benutzen
Qobuz Sublime+ Abonnements.

Einige Hifistatement-Autoren besitzen
eine roon Mitgliedschaft.

Einige Hifistatement-Autoren besitzen
die JPLAY hi-fi app.

Einige Hifistatement-Autoren besitzen
den Audirvana Plus 3 Music Player.